Recently, I got the urge to run Dyson’s Delve, a (graciously) free-to-download “Mini Mega-dungeon” available on Dyson Logos’ blog.
For a free adventure, Dyson’s Delve is excellent. Heck,
it would be great even if you had to pay for it. It’s got all the things on Arnold K’s
Dungeon Checklist, as far as I can tell.
 |
| The first level of Dyson's Delve, and an excellent example of Dyson Logos' stellar mapmaking skills. |
As great as Dyson’s Delve is, a bit of work I’m doing to
run it involves “filling in” the secret doors in the dungeon. Most of the
secret doors on the map receive little attention in the text with regards to
how they are hidden or how they operate.
Mind you, this is hardly a complaint. You can’t really
complain about a free adventure, in my opinion. But, as I’m spending time to
think through & flesh out these secret doors, I figured I would share my
work. Perhaps it will save other referees the time and energy.
So, here it goes: a description of each secret door in
Dyson’s Delve. And obviously, if you’re a player in one of my games or will be
a player in Dyson’s Delve, you probably shouldn’t read this.
*I also should add that, although there is a
distinction between secret doors and concealed doors, I treat
them as one and the same for the purposes of this dungeon.
THE SECRET DOORS OF DYSON'S DELVE
Level 2, between Areas 3
& 4: This is actually a normal wooden door blocked with furniture
and barrels on the west side by the goblins (to prevent creatures passing
through from #4).
·
A casual inspection on the west side reveals
only the furniture and barrels stacked against the wall, though anyone who
inspects the pile closely will notice the door behind them. The clutter can be
moved aside with a few minutes of careful work.
·
If characters attempt to pass through the
door from the east to the west while the furniture remains, treat the door as if
it were stuck. Knocking over the clutter in haste will inevitably make much noise,
necessitating a random encounter check.
Level 3, between Areas 2
& 3: Each of the alcoves in this wall contains several burial
niches. Some are empty. Some have corpses. Some of the corpses are ghouls. (Think
of the resting place of the draugr in Skyrim). In the alcove marked with a secret
door, the bottommost burial niche has no back wall. Instead, a tunnel passes
through to room 3.
·
Standing characters will not notice this
tunnel with a casual inspection; only characters who bend down to search the
niche will notice the bottommost one has no wall behind it.
·
Passing through the tunnel requires crawling
on hands and knees, as it is only 2ft tall and 6ft wide. Characters may also
have to remove their backpacks (if they wear them).
 |
| My inspiration for the secret door above. I'm imagining a wall lined with several burial niches, as in Skyrim. Image source here. |
Three Secret Doors on Level 4: This
series of secret doors is used by the lizard men to prey on the goblins and remain
hidden from the manticores. This means the doors must be well-hidden and discreet
to use.
My idea is to change these secret “doors” into secret trapdoors.
In other words, rather than secret doors in the wall, these are secret
doors in the floor. And, rather than being part of the dungeon’s initial
construction, rooms 9, 10, and 13 are actually tunnels dug by the lizardfolk underneath
Level 4.
Therefore rooms 11, 12, and 8 each have large flagstones
on the floor. The lizardfolk have “hollowed out” sections underneath the
flagstones, allowing them to be raised up and pushed aside to allow passage
through (like a manhole cover).
When the lizardfolk prepare to exit, they carefully raise
the flagstone and peek out to see if the “coast is clear.” If so, they lift the
flagstone entirely and crawl out, then carefully replace it before conducting
their raid. Once finished, they return and disappear back down the whole, with
one lizardfolk always carefully keeping watch.
Finding these secret tunnels is quite difficult, as the
lizardfolk are very clever. Only those who purposefully inspect the floors in rooms
11, 12, or 8 will notice a single tile in each room lacks grout or mortar
around it. If you’d like to be a generous referee, you may also say characters
have a chance to notice dirt or mud lizard-prints somewhere in the dungeon,
perhaps leading to a corner of the room, but disappearing.
Furthermore, lifting the flagstone with bare hands is
quite difficult. A tool like a crowbar is necessary to raise it (which the
lizardfolk possess).
Characters who carefully listen while on this level (or
spend much time here, such as by resting) may hear the lizardfolk emerge from
their tunnels (though they try to be quiet about it). Characters who quietly rest
or wait in rooms 11, 12, or 8 may even catch a glimpse of a lizardfolk
carefully lifting a floor tile to peek out, though any lizardfolk who see a
character will quickly try to conceal their presence. The lizardfolk will fight
to the death to protect their tunnels and their lair in room 13.
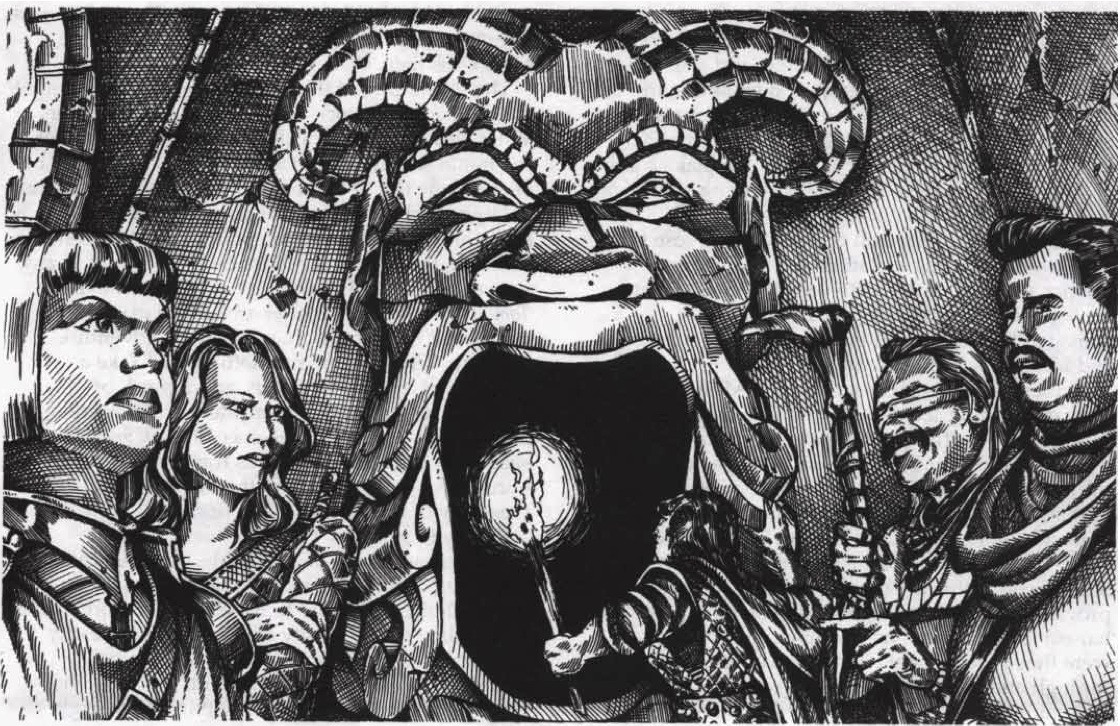
Level 6, between Area 12 to Area 4: Each
side of the wall in these locations bears a carved green gargoyle face with a
gaping mouth ~4ft in diameter. The mouth is filled with complete darkness that
absorbs all light (as per the darkness spell), which conceals a tunnel
passing through the wall to the other side.
Air passes through the gargoyle’s mouth, as well as noises
from the other side of the wall (if any).
 |
| Get the reference? |
Level 9, between Areas 1
& 2: Room #1 possesses victims of the cockatrices’
petrification. The door to room 2 is a normal wooden door that swings inward to
room 1. The troglodytes block the door with a petrified giant scorpion, which
prevents the door from being opened without moving the statue. Each time they
wish to enter room 2, the troglodytes move the scorpion aside. The scorpion,
made entirely of stone, weighs approximately 1000lbs.
·
Characters with a combined Strength score of 33
or higher can drag the scorpion across the floor, allowing the door to be
opened at the expense of making noise and necessitating a random encounter
check.
·
Characters with a combined Strength score of
67 or higher can lift the scorpion off the floor sufficiently to prevent it
from making noise, when moved.
·
Characters on this level may hear the troglodytes
grunt and scrape while moving the scorpion statue to get inside #2. Similarly,
characters who leave and return to this room may notice the scorpion statue
having moved, freeing the door. In this case, a squad of troglodytes will be
resting inside #2.
Level 9, between Areas 13
& 15: The wererats have placed a pair of large, sagging bookshelves
here to block a hole in the wall that leads to the lair of the Caecilia. The
books are invariably water-damaged and moldering.
·
Investigation of the bookshelves will notice
cold air passing from behind them. Light brought close to the bookshelves reveals
a cavern beyond the thin gap between them.
·
The bookshelves can be quickly dissembled, at
the expense of making a lot of noise. Besides necessitating a random encounter
check, this noise will also wake the Caecilia.
·
The bookshelves can be carefully and quietly dissembled
at the expense of time and all the costs that incurs (ex. dwindling torches)
And that is all the secret doors in Dyson’s Delve! I hope
this was helpful for you 👍 Best of luck in your adventures there.
No comments:
Post a Comment